
An easy to follow step-by-step guide to starting your own music blog.
This post is for people trying to create a blog, if you are wanting to create a music website for your own music click here.
One of the most common questions I’m asked about Soundplate is how I set it up in the first place. If you want to start a music blog, the good news for you is that setting it up is the easy bit.. Keeping it constantly updated, interesting and growing your audience is much more difficult, but that’s a topic for another day!
In this post I will run through the basics of how to set up a professional looking music website or blog in an easy to follow step-by-step format..
Step 1. Find a domain name & own it.
Owning your own branded domain name(s) is super-important especially you intend to grow your personal blog into a bigger brand or business in the future. It’s the difference between being soundplate.com or Soundplate.wordpress.com. Not only does a ‘.com’ domain name make your site look more professional, it’s also going to make it much easier for people to remember and come back in future.
Domain names are CHEAP. You can buy a .com name from Names.co.uk for less than £1.99/year or even get one for free with a BlueHost hosting account.
Step 2. Choose and Buy a hosting package
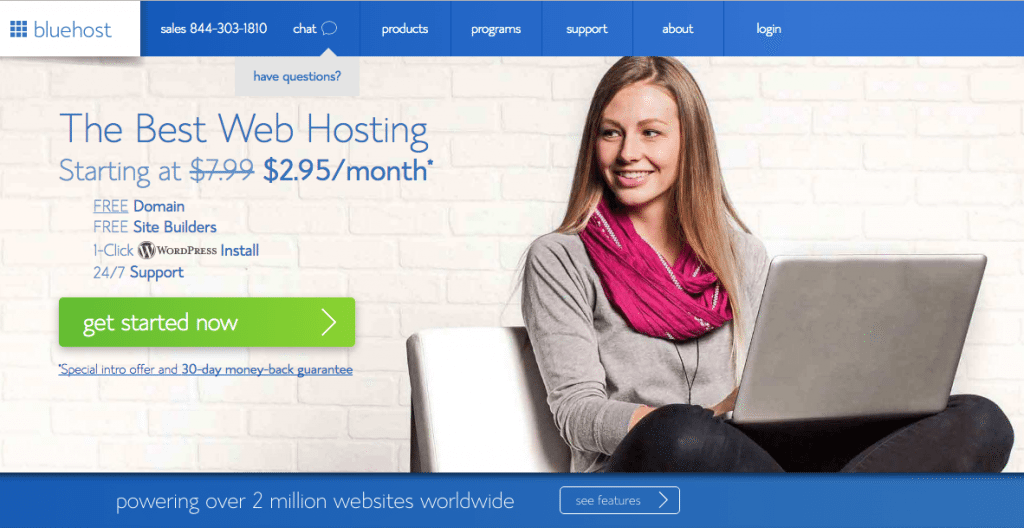
There is a myth that good web-hosting is expensive, this is not true. Top quality web hosting, good enough to run any start-up music website can cost under £5/month. There are two web hosting providers we recommend: BlueHost (US) & TSO Host (UK) both offer cheap, reliable web hosting, easy one-click WordPress set up and top quality customer support. Follow the steps below to get your hosting (& domain) set up with BlueHost in less than 5 minutes!
First head to the BlueHost website and hit the big green ‘Get Started’ button..
Next, you will need to select a price plan. We recommend starting with the Basic Package – This is cheapest and perfect to get you started. You can always upgrade at a later date if you really need to. Once that is done it’s time to choose a domain name for your site (as mentioned in step one). If you already own a domain name, you can enter it here, and you will just have to go through a few extra steps to make sure you get your DNS pointed to Bluehost. If you don’t already have a domain name, you can get one free with your new WordPress hosting account purchase.
After your package is selected and you have decided on the domain name for the new site, you will be asked to enter some basic personal information:
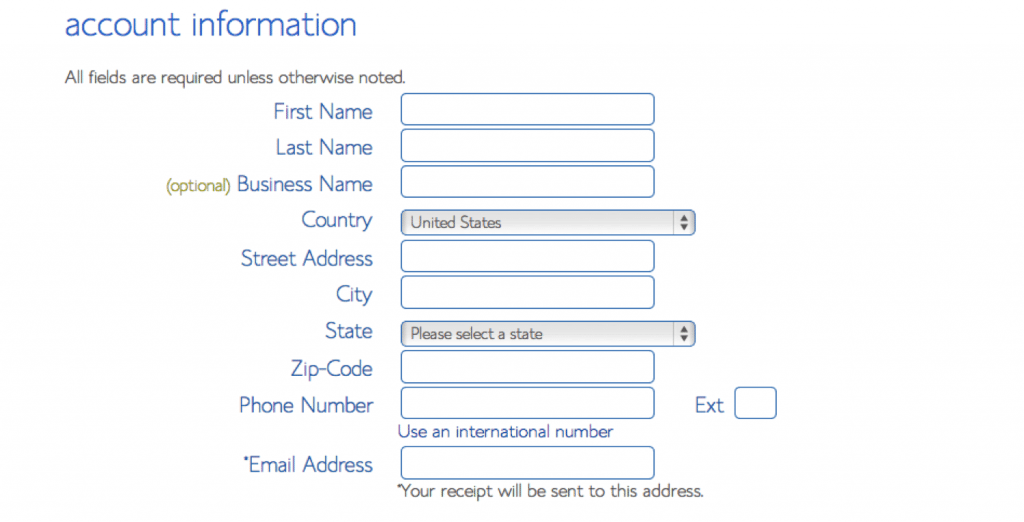
Following that you will be offered a range of extras, these are not necessary to start building your site so save some cash and don’t buy them…
Step 3. Install WordPress
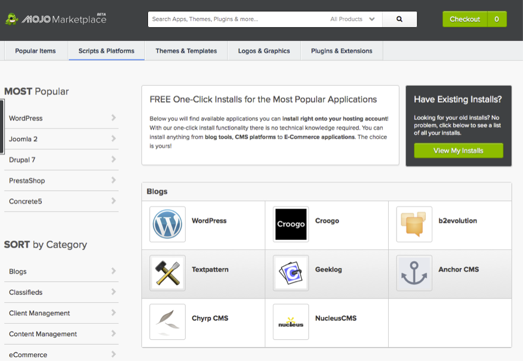
Installing WordPress to your new hosting account can seem like a really complicated task but with both of the hosting providers we recommend they take the hassle of this away by proving a simple, one-click install. Follow the steps below to install WordPress on a Bluehost account.
In your Bluehost cPanel, scroll to the section titled “MOJO Marketplace” and choose the “One-Click Installs” button. This will take you to a page inside MOJO Marketplace called Scripts and Platforms. The blog section is at the very top, so all you have to do here is click on the WordPress icon. Simply follow the steps and you will have WordPress installed in no time.
Step 4. Make it look good
Once you have installed WordPress, your Blog is almost ready to go. If you want to make it look fancy and not like the standard WordPress theme buy a theme from ThemeForrest. On Themeforrest you will find thousands of WordPress themes which are easy to install and edit to make your blog look however you want it to.
Each ThemeForrest download will come with some documentation explaining how to install the theme yourself or you can pay an extra fee to have an expert install it for you.
You may also want to bring your brand to life with some custom graphic design or a logo. If you do not know how to or have the creative ideas to make one yourself check out 99Designs which is the easiest way to find professional freelance designers online. A logo from professional designers on 99Designs will cost around £200. If you want to keep costs down you could try 48Hour logo where you can launch a design contest for just $29.
Step 5. Get writing and launch!
This is the most important part. A blog with no content is no use to anyone! Get out there and start finding some great content to write about. Once you have written a few posts start sharing on your social media and getting your friends and family to do the same. Before you know it you will be building a loyal audience..
Resources List / Recap
We have recommended some great companies / resources in this post, here is a list of them for easy access:
Hosting Companies for WordPress:
BlueHost – Cheap, easy to use, reliable
TsoHost – Also very good and top customer support based in the UK.
Premium themes for WordPress:
ThemeForrest – The biggest and best marketplace for website themes.
Graphic Design
99Designs – The easiest way to find professional freelance designers online
48Hour Logo – Launch a logo design contest for $29 and pick a winner 48 hours later!
Questions? Hit us up on Twitter @Soundplate
*Disclaimer: Some of the links in this post are Affiliate Links meaning we will earn a small fee if you decide to use any of the services offered. We have used every recommendation on this page and would not suggest them otherwise..